# ERP Process
Note: First modify and fill in the standardized SKU on the store platform, please refer to the SKU Code Building Rules (opens new window) document
# Step 1: Merchant binding e-commerce platform
- For details, please refer to the Merchant Bind Shop (opens new window) document in the menu
Operation Process
# Step 2: Commodity import
note ! ! ! Download the latest template every time you import
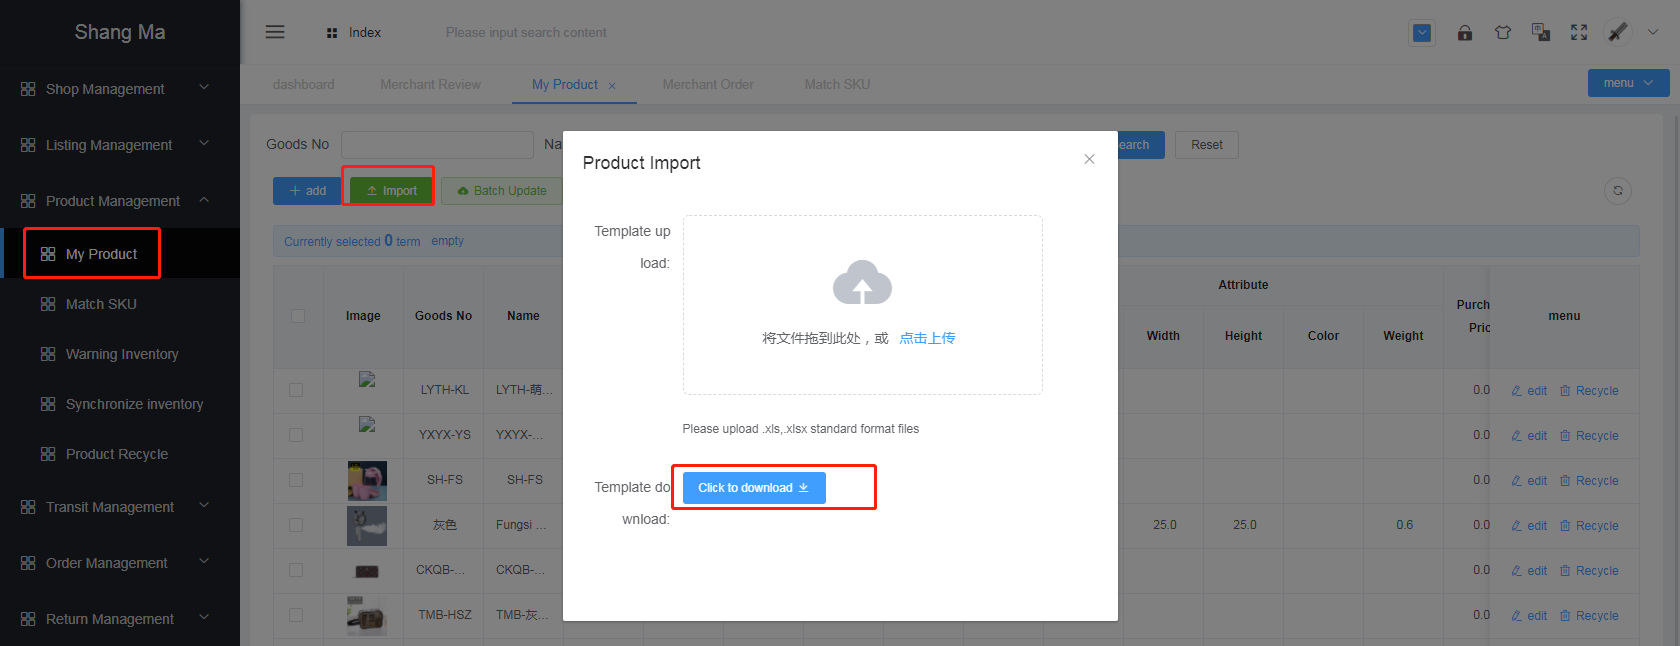
- Click the button
Importto download and import the template - Note the tips for exporting templates
- Tip 1: *Required
- Tip 2:
SKUdoes not need to bring merchant code (106-) - Tip 3: Merchants can’t fill in the quantity of goods themselves, and recommend the warehouse operation for importing goods for the first time
- Fill in the imported product information, save it, upload and import into Excel
- If the update is successful, there will be a corresponding prompt if it fails
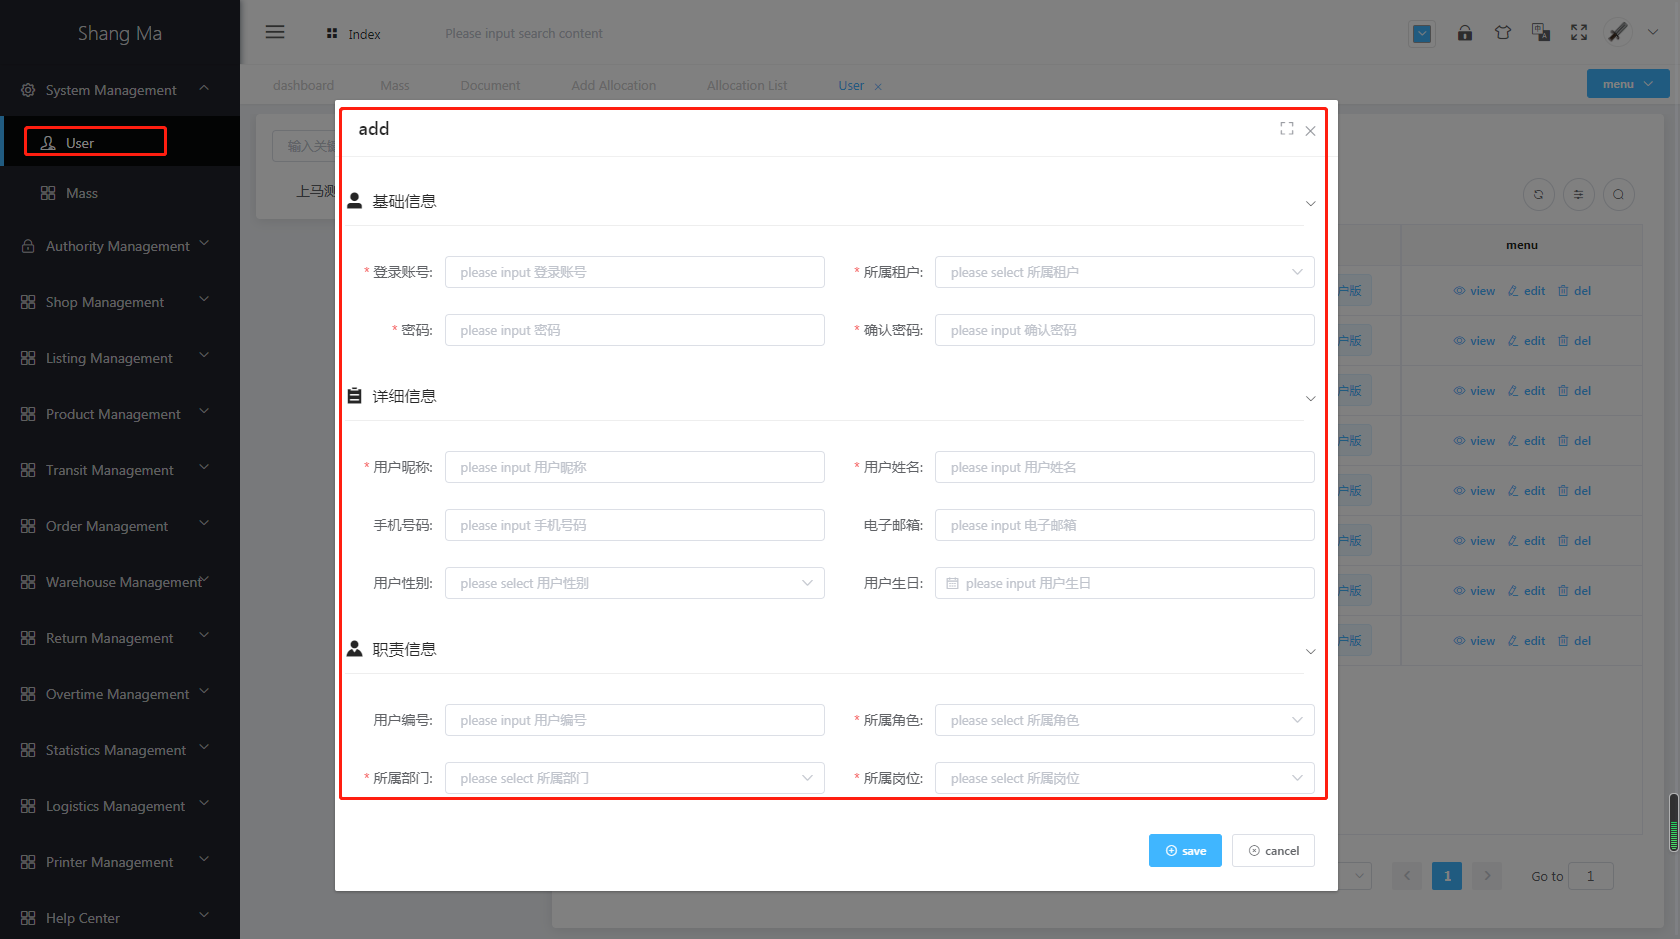
# Step 3: Create each role
- Click: Create each role of the warehouse
# Step 4: On-the-go management
- Function: Add inventory to imported goods
- For details, please refer to the menu Procurement Management (opens new window) document
# Step 5: Review the goods, pick the goods, pack them, and leave the warehouse
- Process 1: Generate picking list
- Process 2: Generate batch printing list
# Step 6: Allocation and inventory of inventory
- Goal: to take inventory of the quantity of goods in the in-person warehouse
# New inventory steps:
- Fuzzy search by commodity code inventory area picking area merchant
- Tick the items that need to be counted, and click
Add - Click
Generate Inventory Listto generate the corresponding inventory list - Edit fill in the actual count
- Click
reviewto complete the inventory operation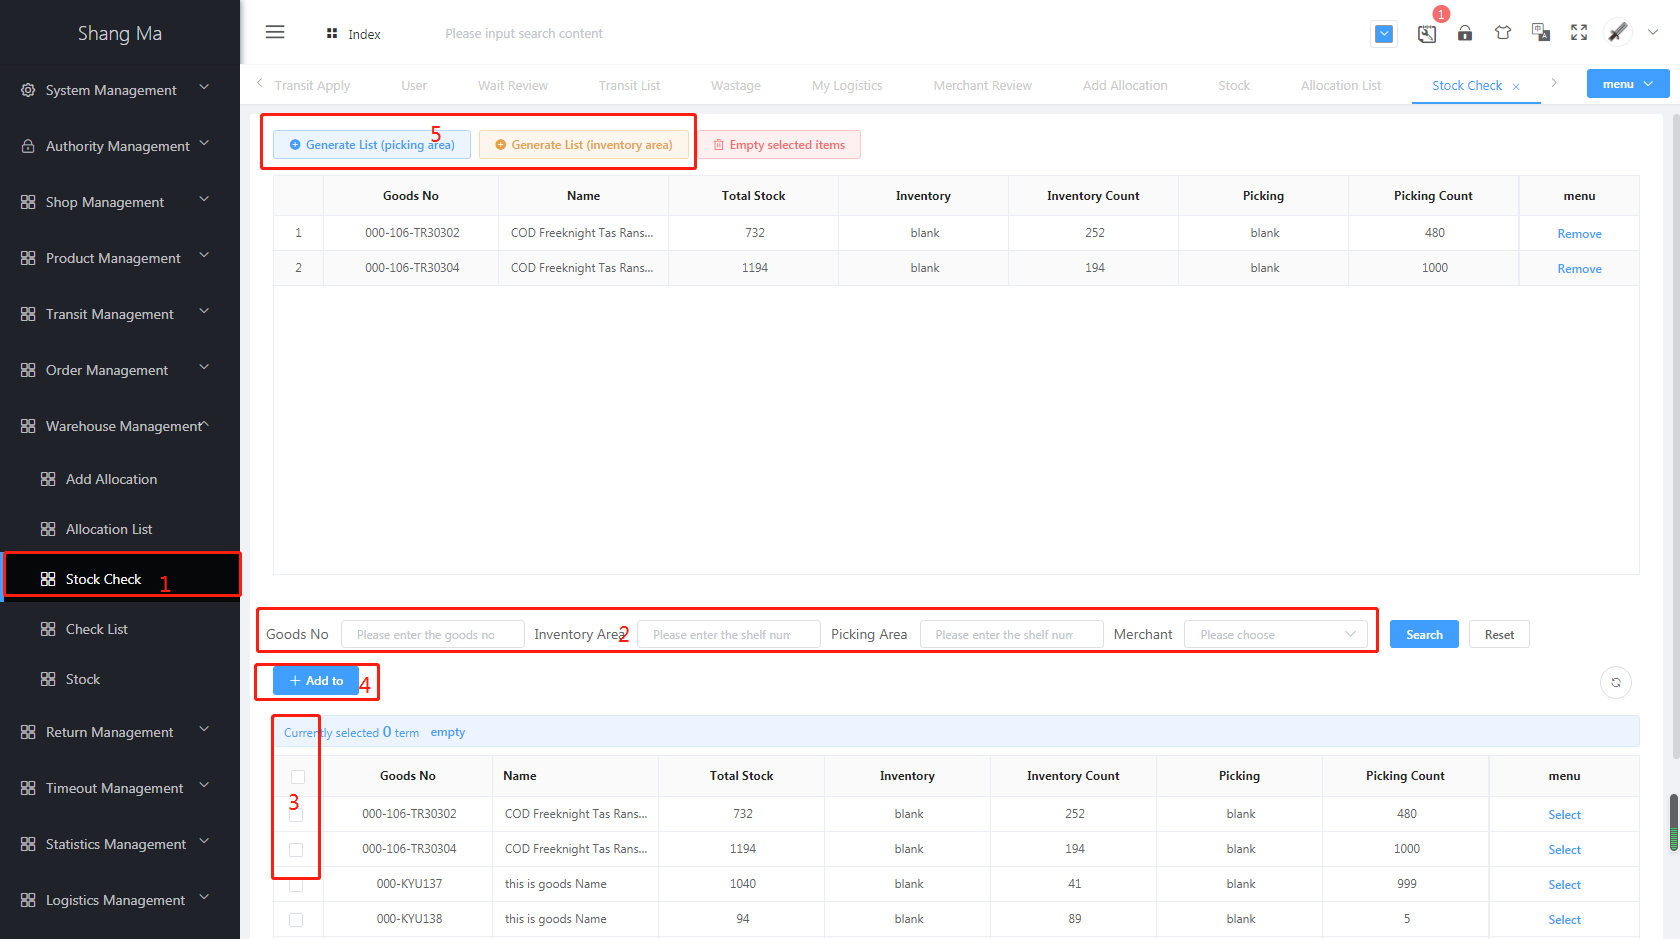
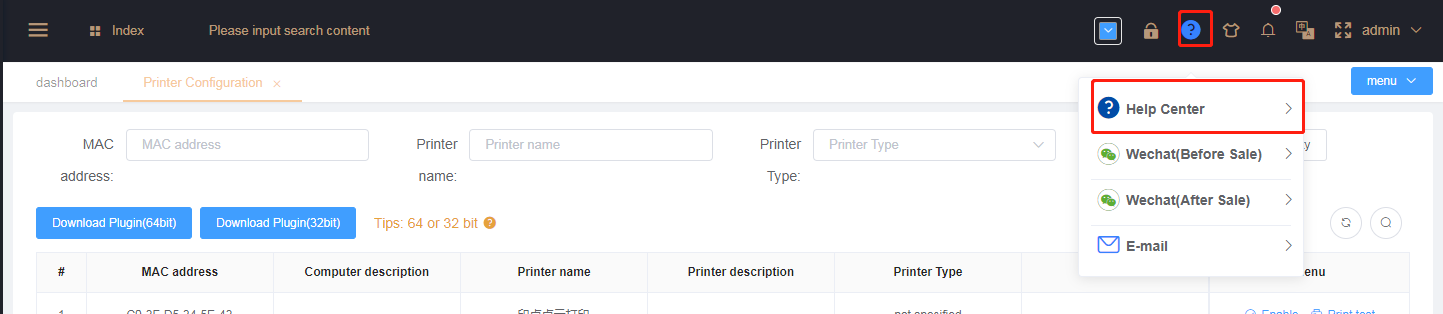
# Step 7: printer management
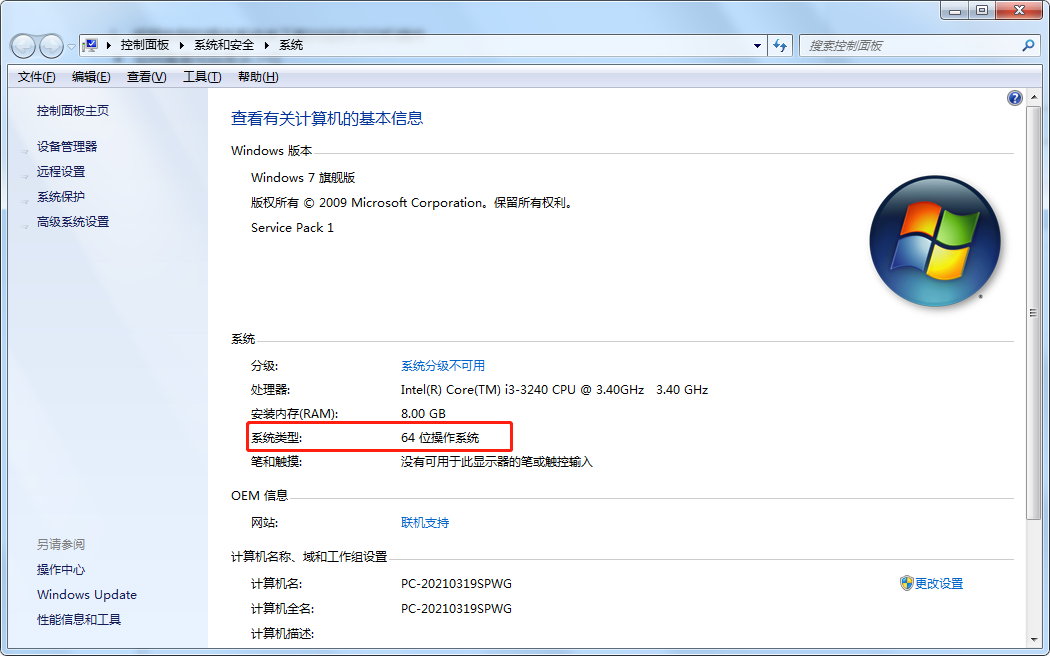
How to check how many bits the computer is
- Click
Computeron the desktop of the computer, then right-click the blank space at the bottom, and selectProperties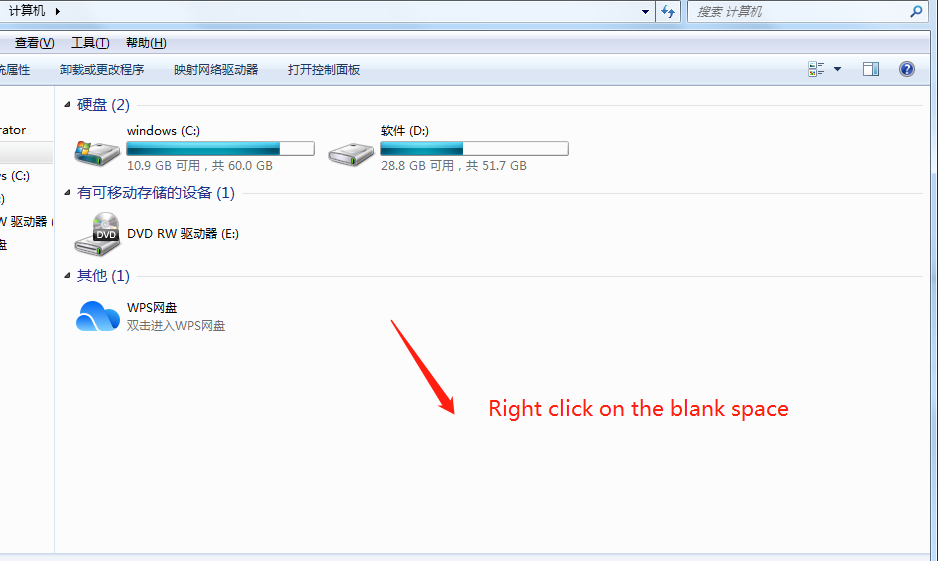
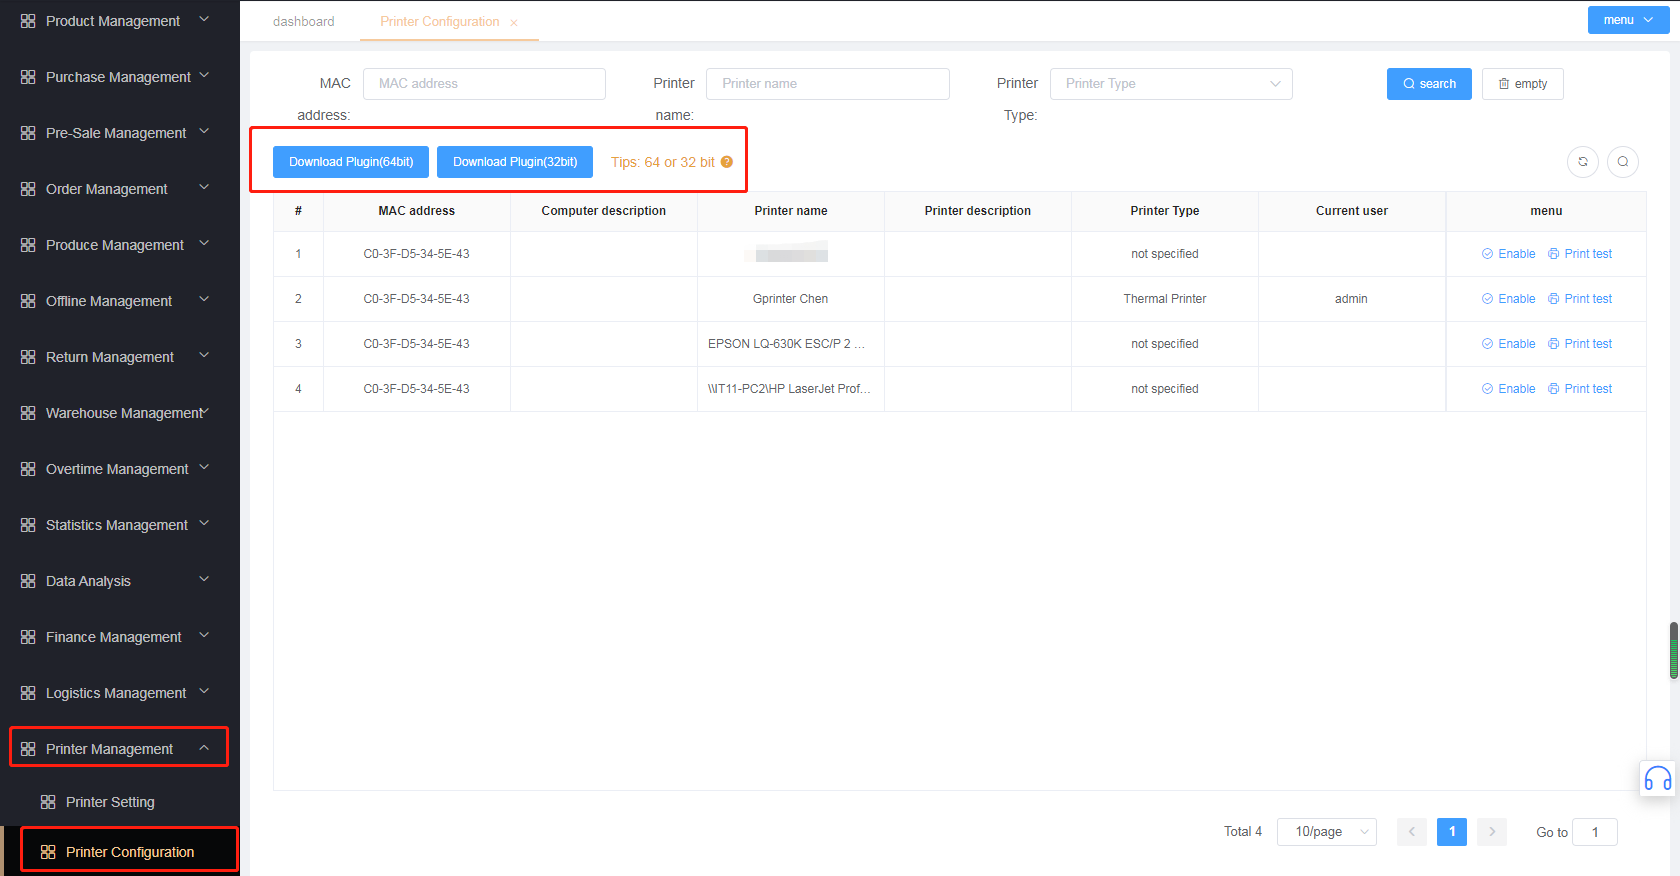
# 7-1: Click Printer Management to select printer configuration, and click to download the plug-in
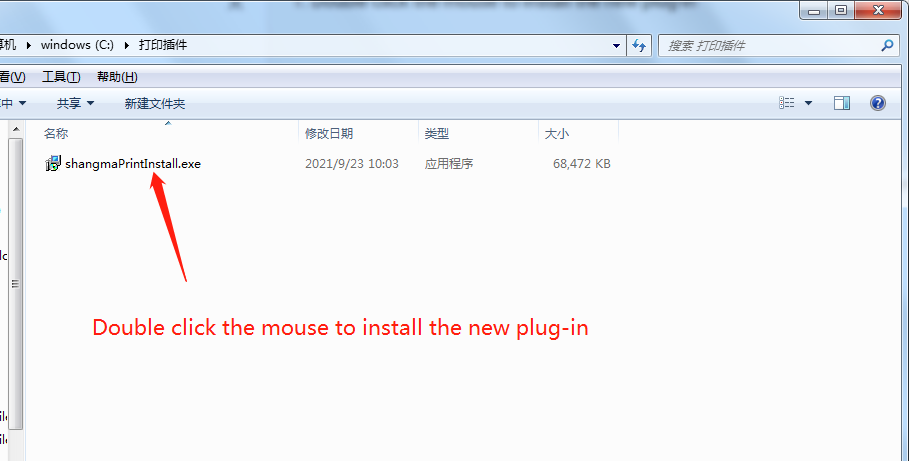
# 7-2: Cut the downloaded plug-in to any disk
Double click the mouse to install the new plug-in
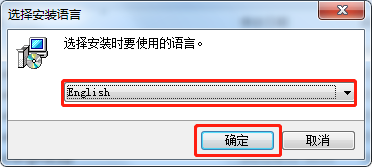
Choose the language you want to use
Check
Create Desktop Shortcut, clickNext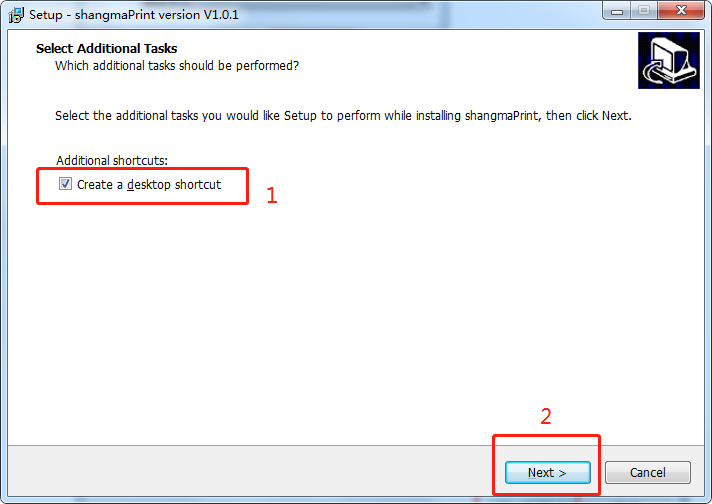
Click
Installand wait for the plug-in to instal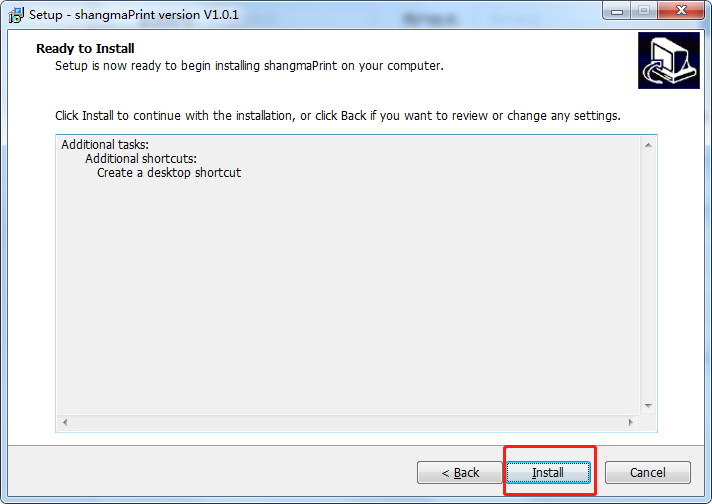
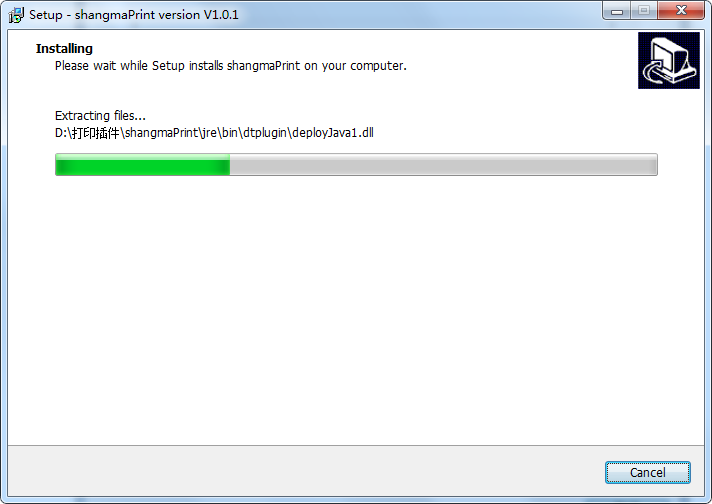
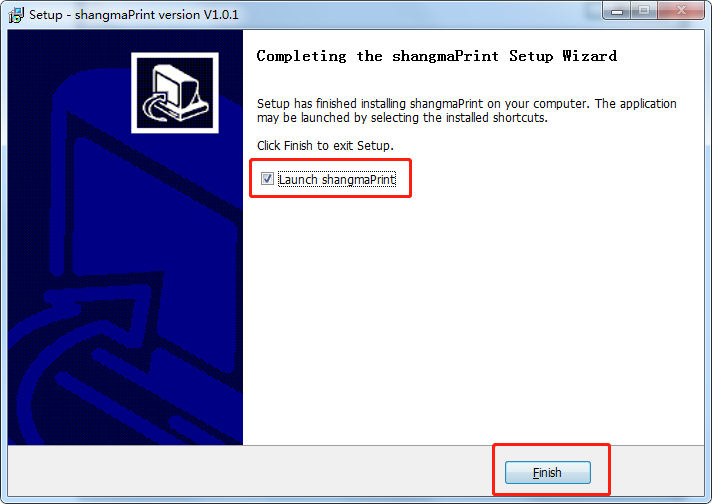
The plug-in installation is complete
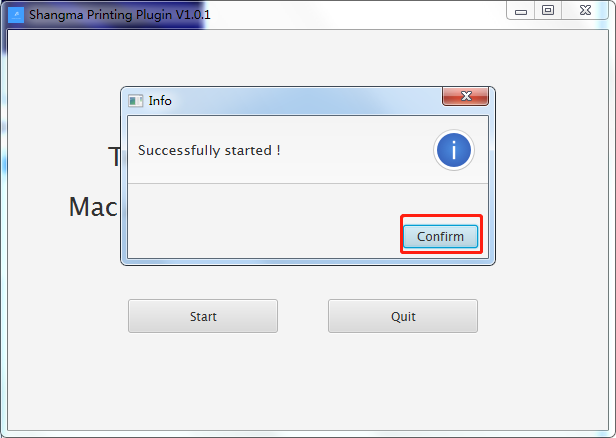
# 7-3: Fill in the warehouse ID and start the plugin
- Fill in the warehouse ID and click
start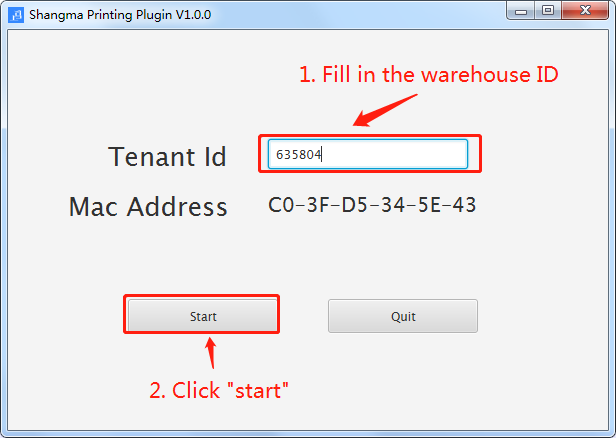
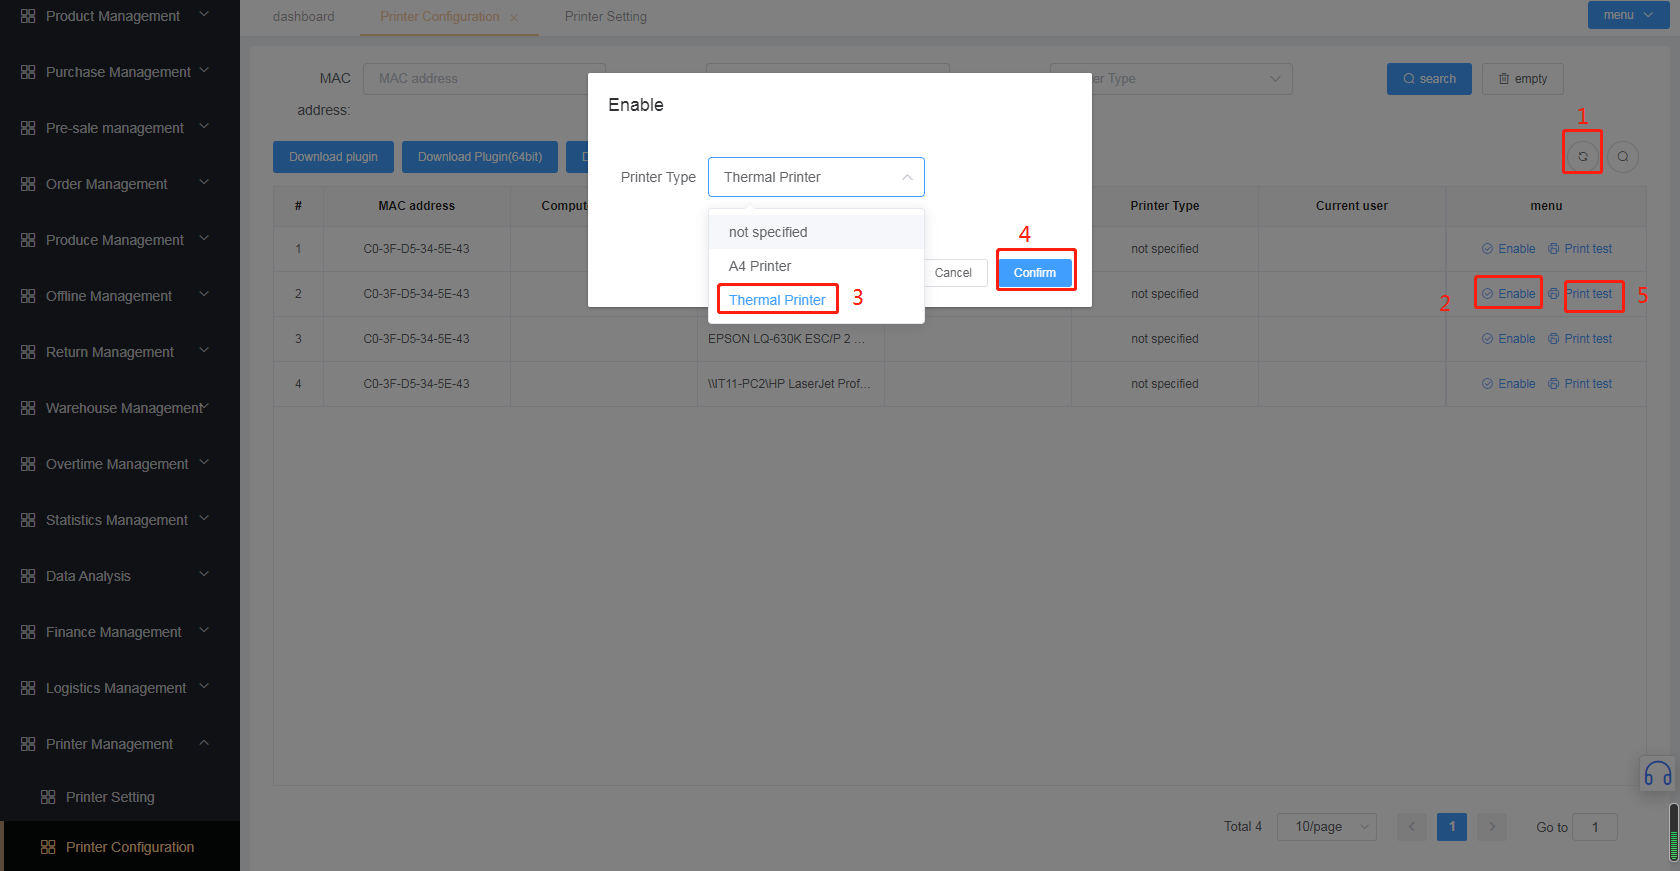
# 7-4: Printer configuration
- Refresh the page and find the corresponding print to enable
# Step 8: Be familiar with other processes and documentation
- System exception solution
- Familiar with
Order Management;Commodity Management;Purchase Management;Returns Management;Warehouse Management, etc.~