# PDA User Manual
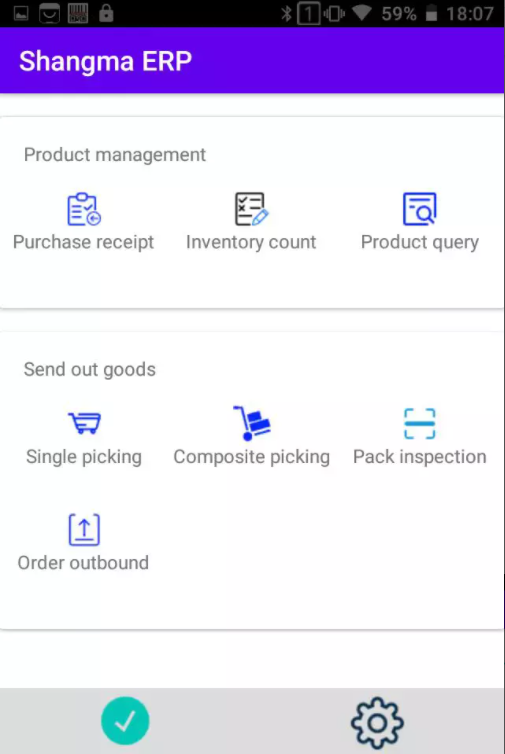
# PDA homepage display
# Picking basket settings
In
System Management-Basket Management, clickAddto add a new basket header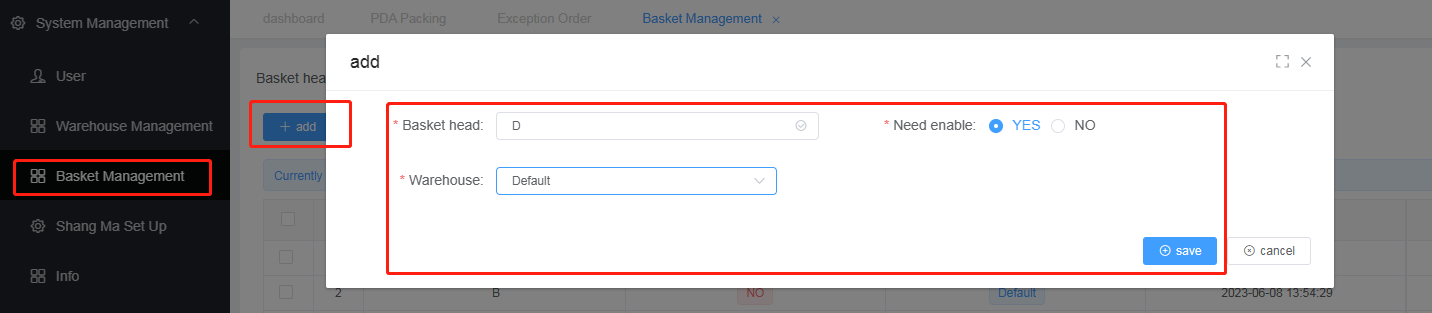
You can print the barcode for the basket head or the corresponding sub basket barcode

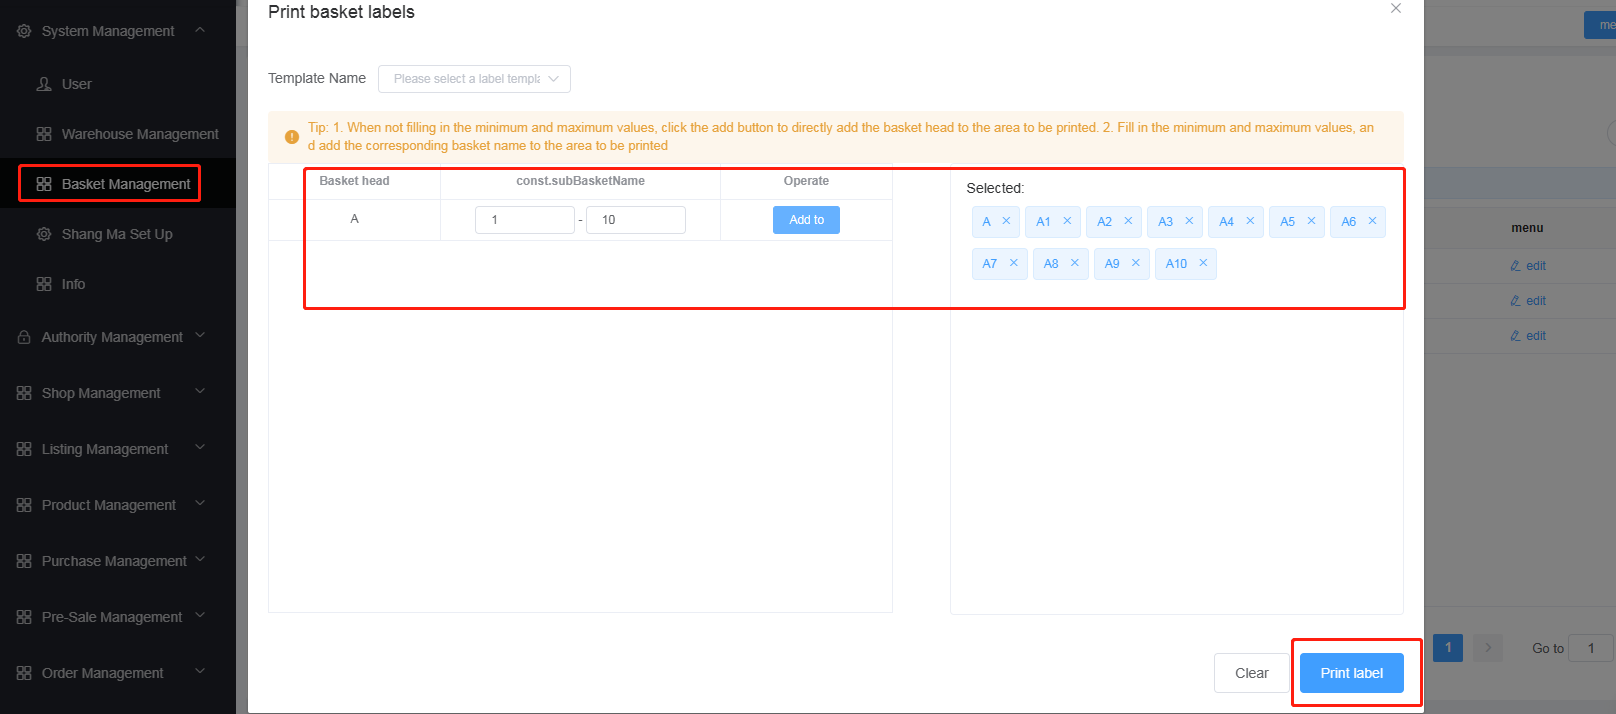 Note: A represents the basket leader name, A1-A10 represents the sub basket name
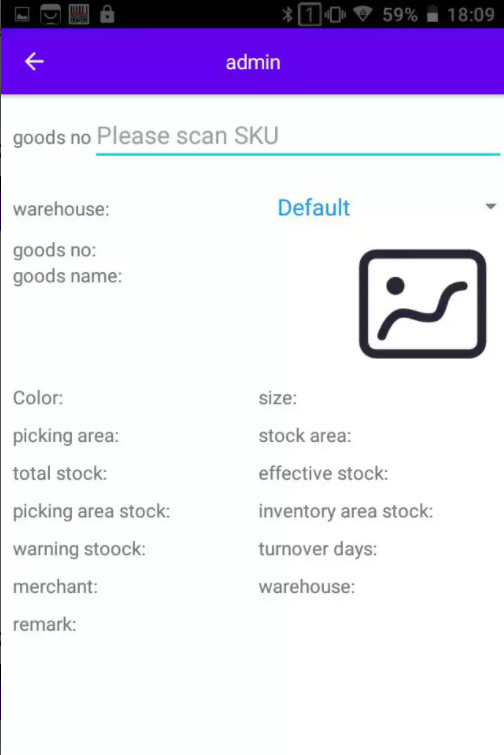
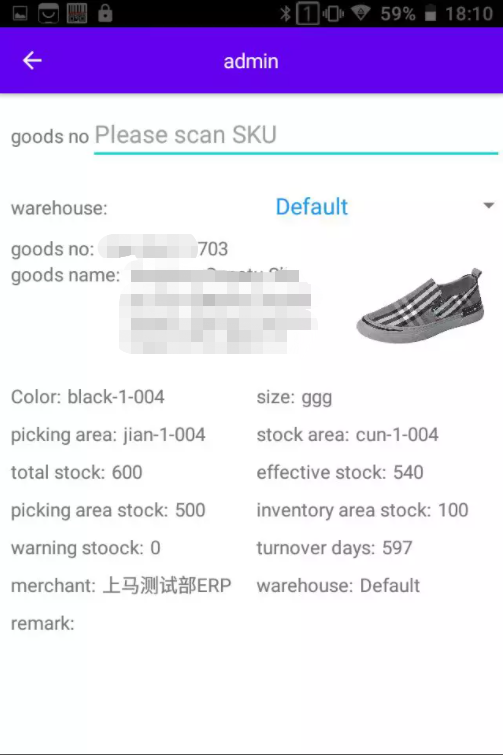
# Product Query
Click on Product Query and scan the corresponding SKU barcode to display the corresponding product information
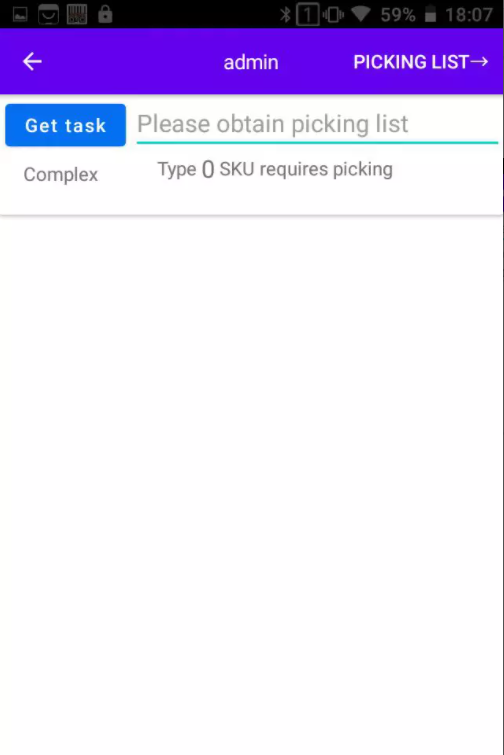
# Single picking
- Select
Single pickingand clickGet picking listto pull the corresponding picking list from the system

2.If the picking basket is enabled, you need to first scan the corresponding barcode at the head of the picking basket. The right switch can control whether it is enabled or not. After it is closed, you can directly scan the SKU barcode
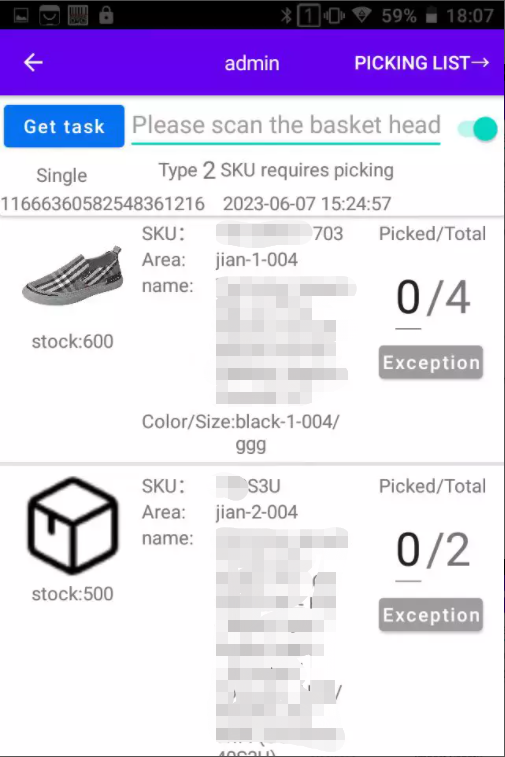
Note: If the product is out of stock, you can click on the out of stock exception
# Composite picking
Precondition: The basket head and corresponding sub baskets must be set up properly
- Select 'Composite Picking' and click 'Get Picking List' to pull the corresponding picking list from the system
- Scan the barcode of the basket head first
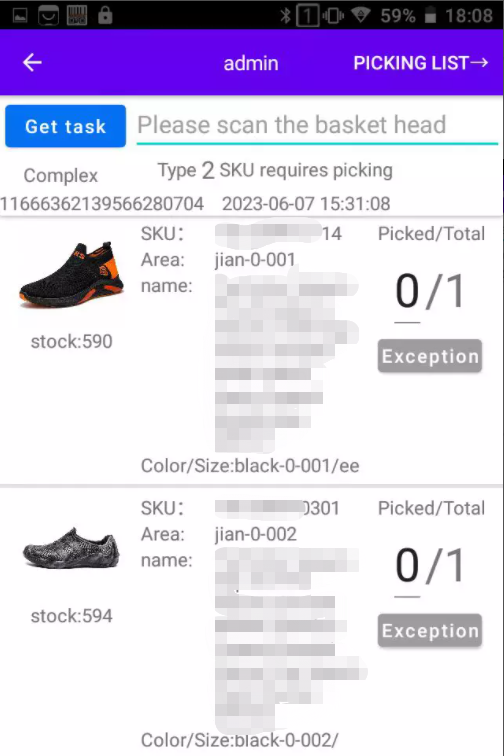
- Scan the barcode of the product and it will be displayed in the corresponding sub basket below Note: 1. If the product is out of stock, you can click on the out of stock exception;2. If the basket header is scanned incorrectly, it can be modified by manually clicking on the basket header name
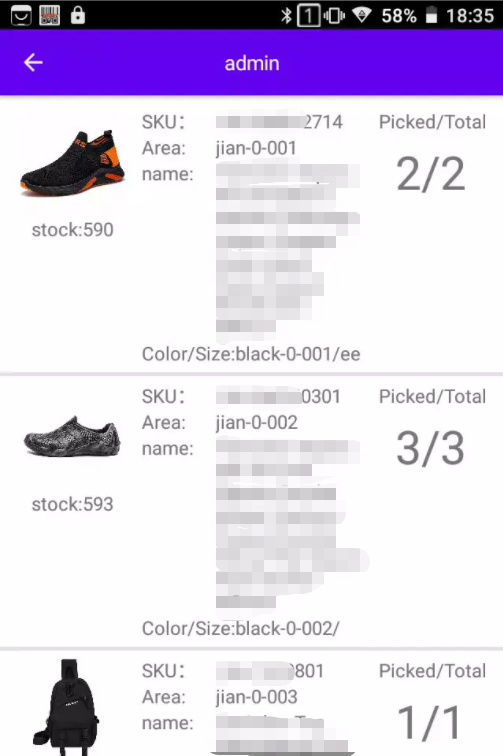
Click on the
Picking Listin the upper right corner to view all picking lists and corresponding list details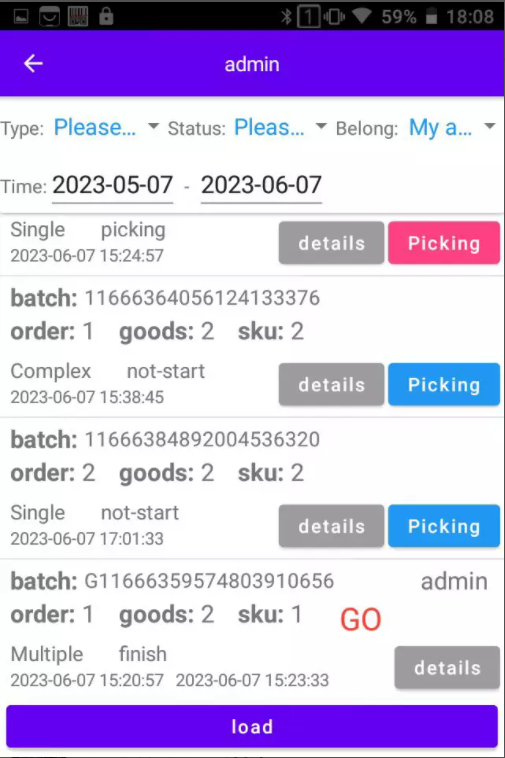
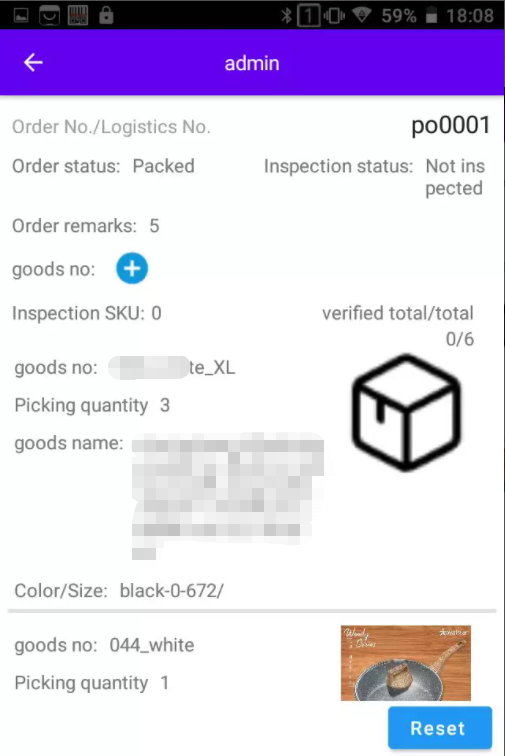
# Packaging inspection
Scenario: Before the package is packaged, PDA can be used for inspection
- Select
Packaging Inspectionon the PDA and enter the inspection page by scanning the order number or logistics tracking number
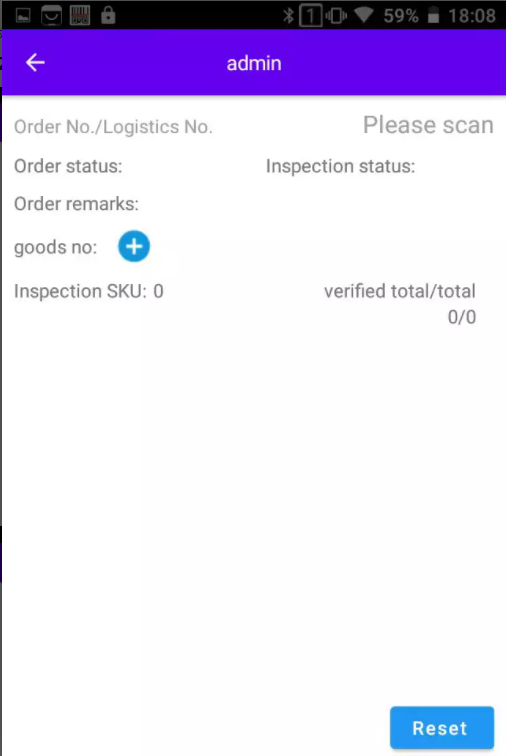
- Scan product barcode for inspection
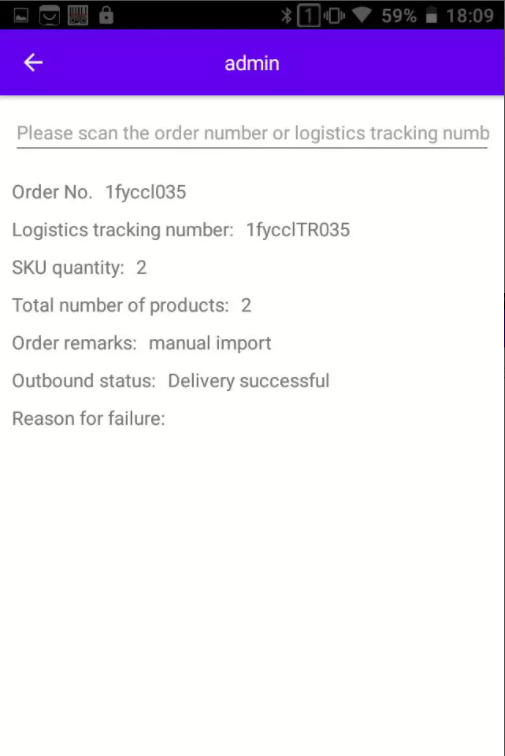
# Order outbound
For orders with a packaged status on the system, they can be shipped out through PDA scanning of the manifest
Select
Order Deliveryon PDA and scan the barcode on the package manifest for delivery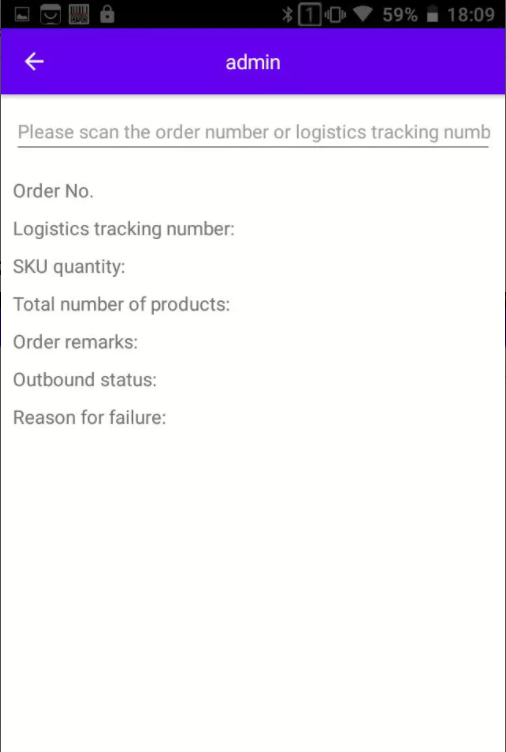
# Purchase Receipt
select
Purchase Receipt, and enter the corresponding purchase inbound order pageSelect the required receipt
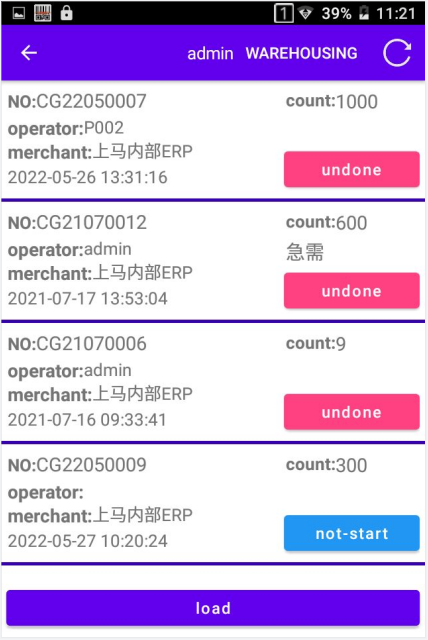
Count the quantity of the corresponding product (you can manually input the quantity, or you can scan the barcode of the product through PDA to increase the quantity)
Click
Not StartedorIn Progressto save the filled quantityIf the counted quantity is less than the storage application quantity, the purchase order can be listed as a commercial loss
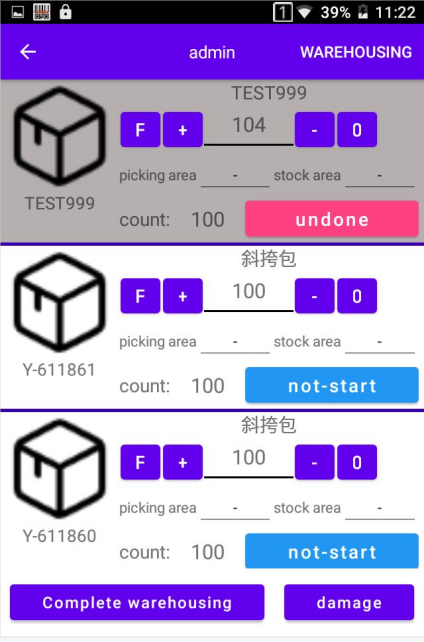
Click
Complete warehousing, select the required warehousing location, and complete the warehousing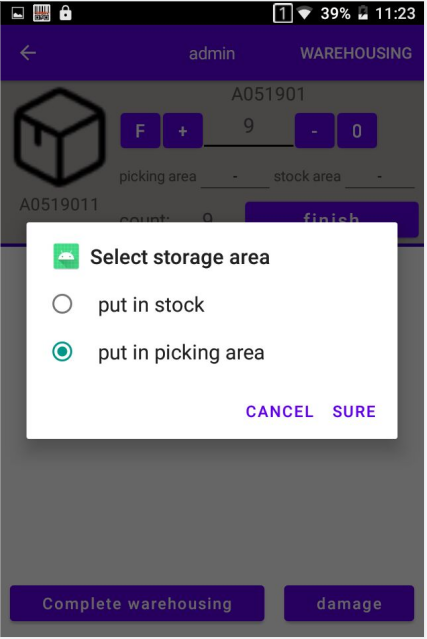
# Inventory count
select
InventoryGo to the inventory page
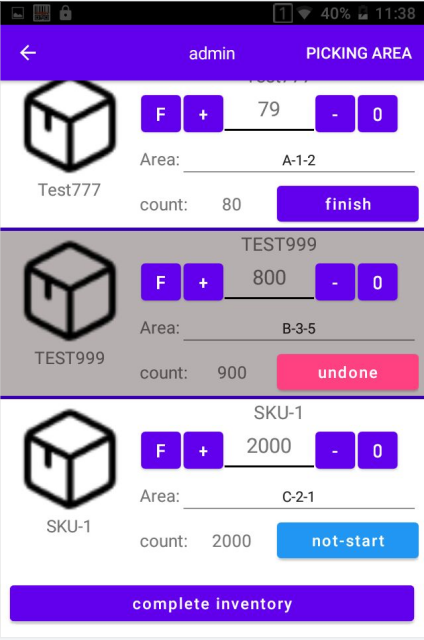
2-1: Select the list that needs to be counted, click
Not StartedorIn Progressto start the inventory task, which can be done by scanning the barcode of the product through PDA, or by manually entering the quantity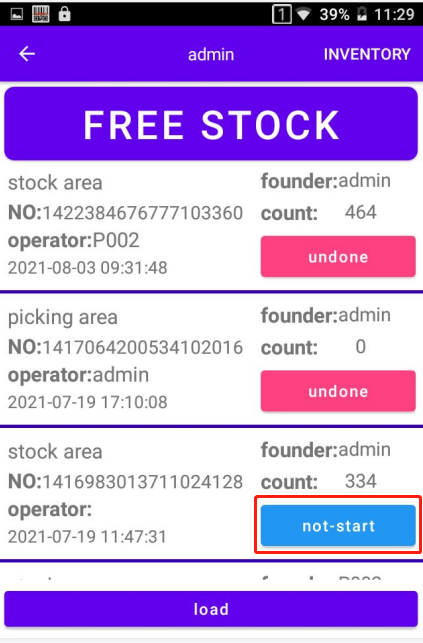
F: Indicates that the quantity counted on the current page is directly filled in to the actual quantity
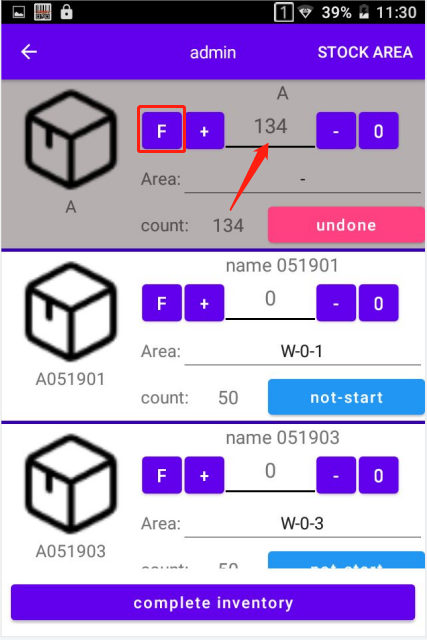
After filling in the inventory quantity, click
In ProgressorNot Startedto complete the inventory task of the current product. After all are completed, clickComplete inventory2-2: If there is no new inventory list on the system, you can select
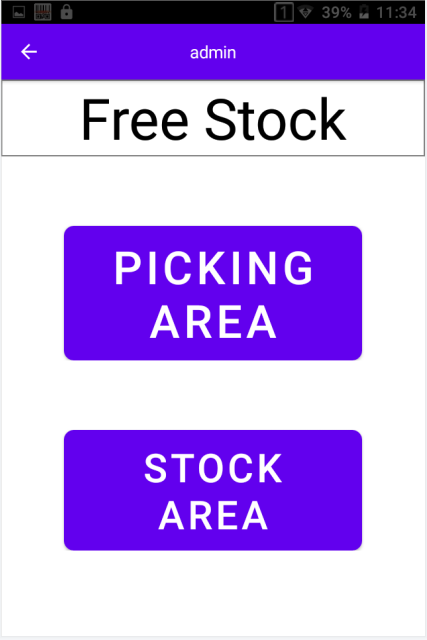
Free inventory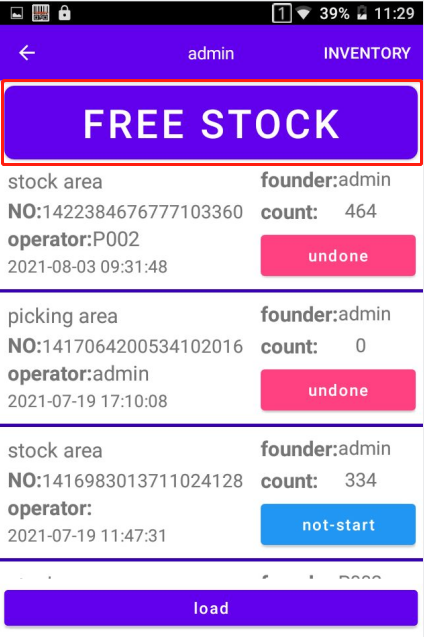
Enter the
Free Inventorypage, select the corresponding location, and scan the barcode of the commodity to be counted through the PDA for inventory. After the inventory is completed, the system will also generate the corresponding inventory list.